
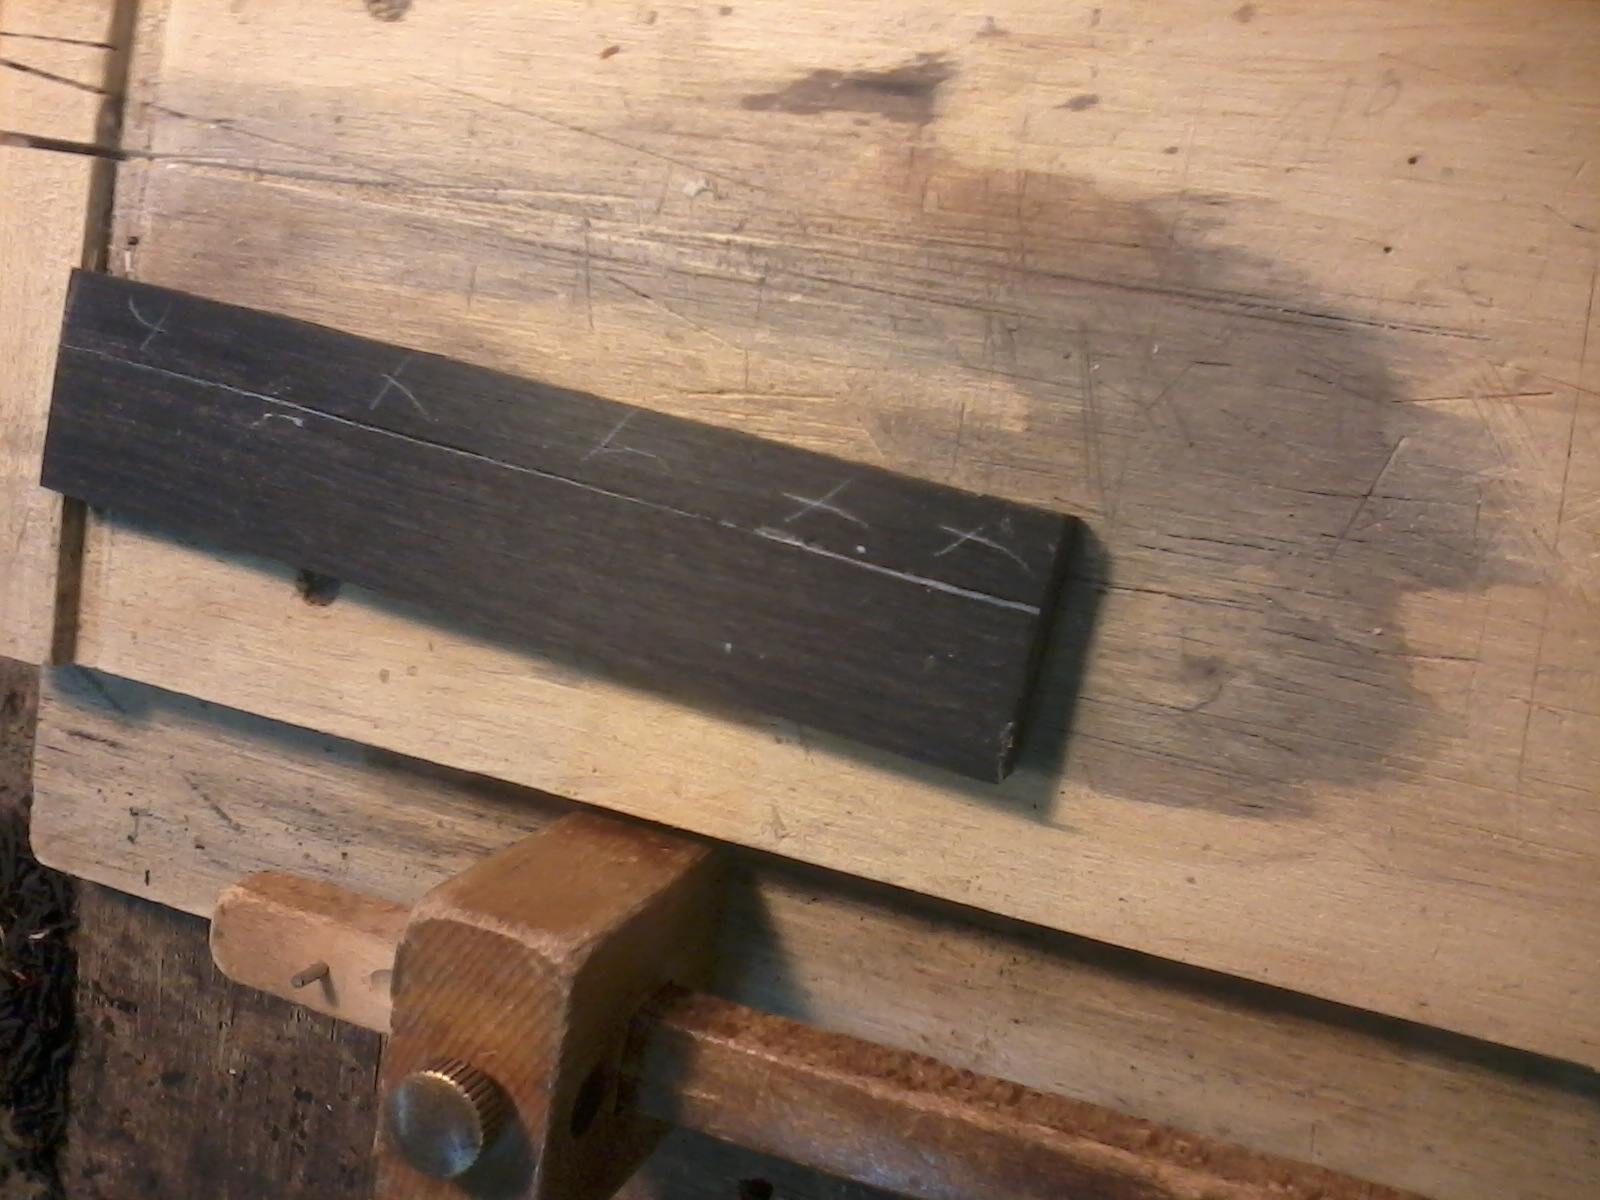
I have always cut my pyramid bridges by hand. I like the control that comes with this method. I start with the bridge blank and shoot one of the long edges using a (sharp) Stanley #4 smoothing plane and bench hook to get a square face. Then I can cut down the blank to size, length w/ cross cuts and width w/ one long length cut. I use a band saw for this.
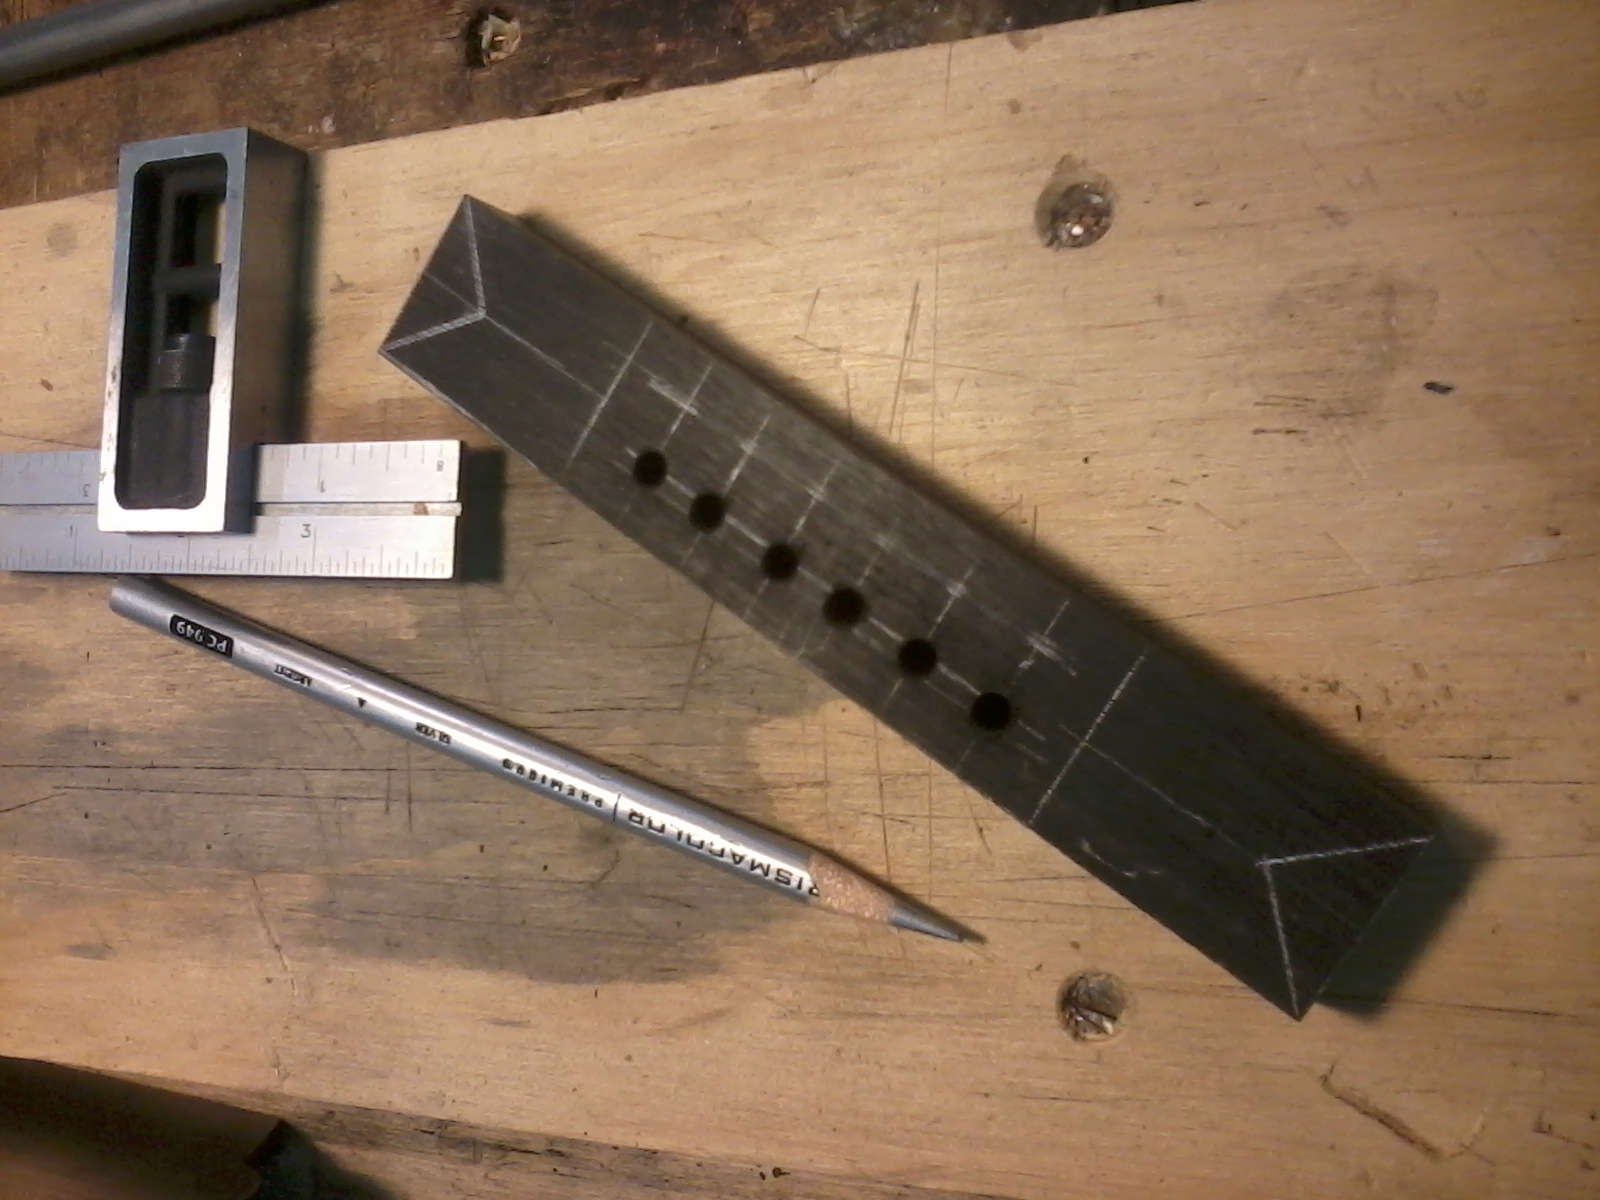
I then layout parameters, wings, holes, etc. and drill the holes with a drill press. I drill these holes in a slight angle. Below you can see the basic layout.
Once the string holes have been drilled, I can start cutting the deep relief where the bridge transitions from the main body of the bridge to the ridges at the wings. The first cut done with a #5 hand cut rasp is made. I like to cross the center line with this first cut because the second cut will, from the opposite side back to the center line, make the point of the pyramid lower in profile to the main body of the bridge.

Below, the main ridge of the bridge wing have been established.

Now the end cut can be made to establish the pyramid. I then blend in the ridge down toward the main body terminating at the scallop.

Then the rest of the shaping is completed with rasps, files, card scrapes and sand paper.
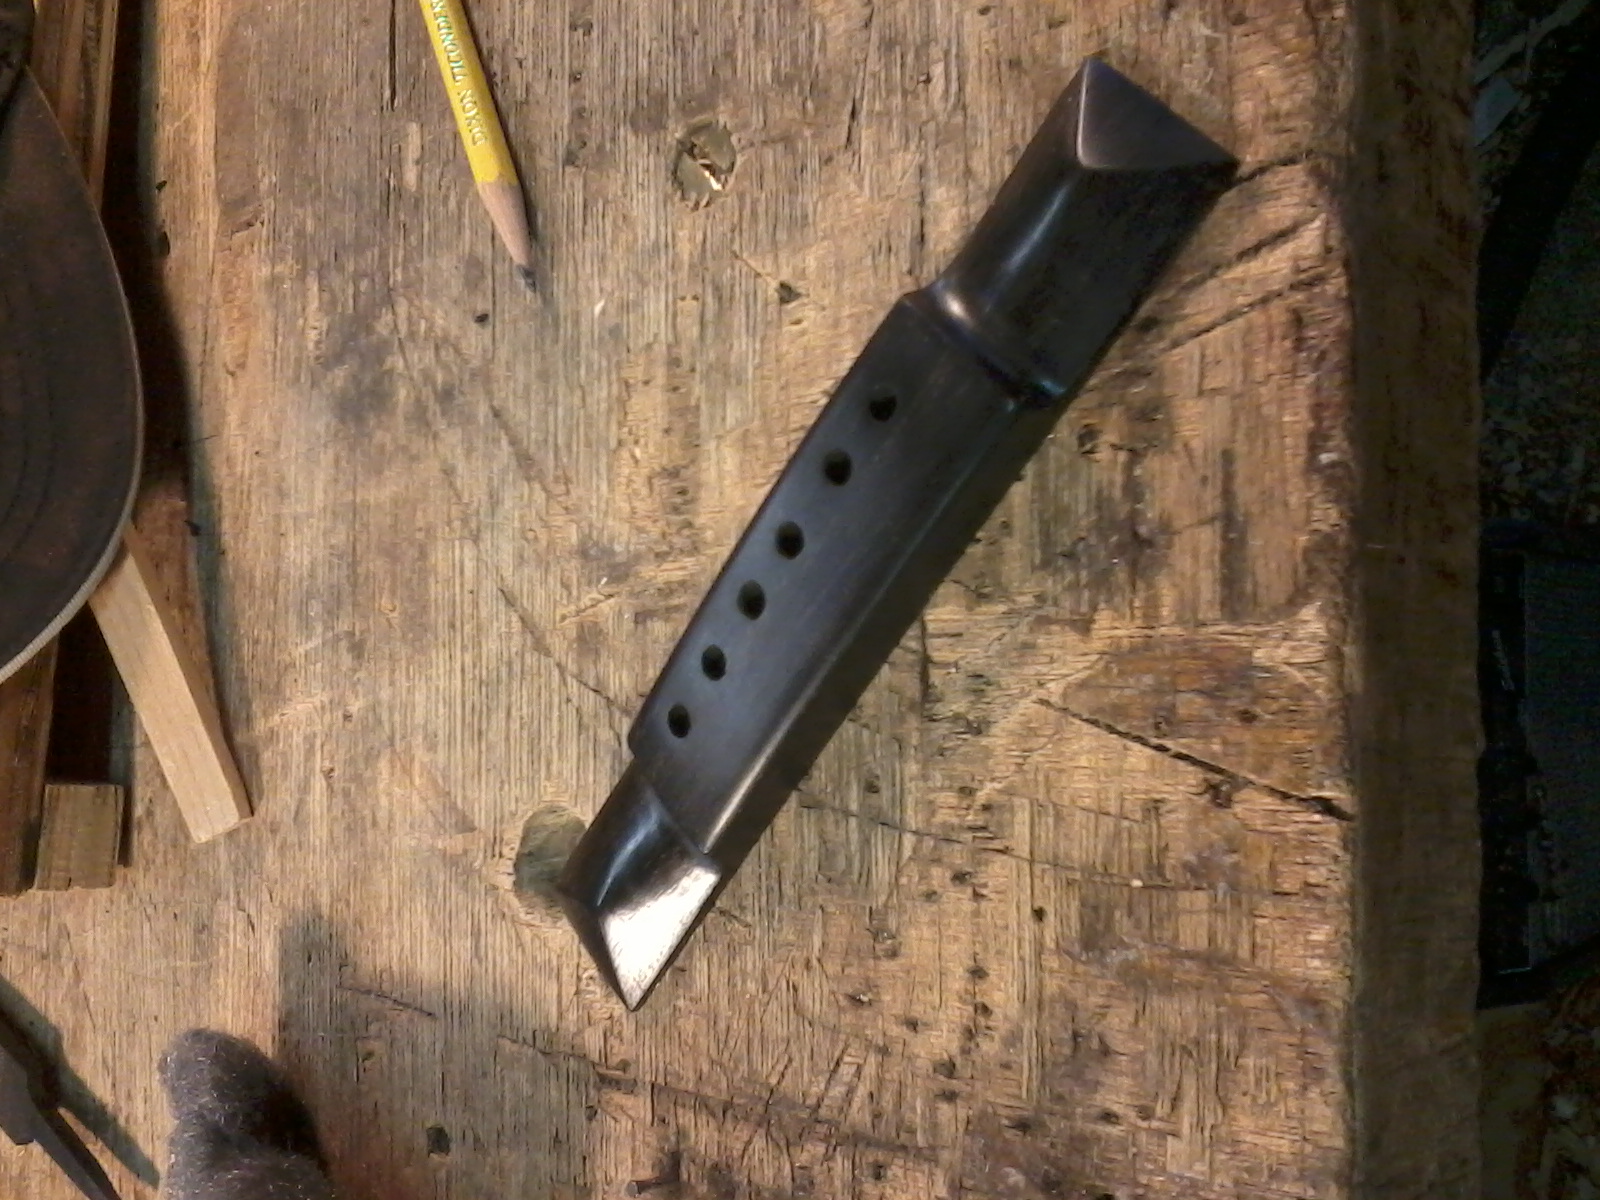
Lastly, I buff to polish the bridge, and now it is ready to fit to the guitar.